





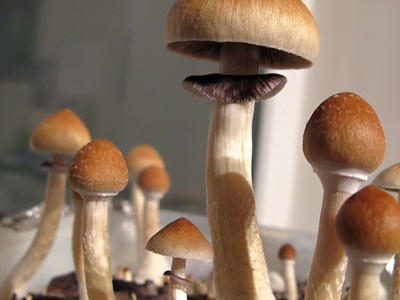
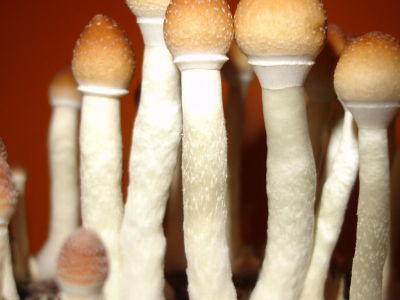


Fantasia Truffles - Mushmagic
Magic truffles
€16.99Price
To access our site, you must confirm that you are at least 18 years old.


If you've read our beginner's guide to growing magic mushrooms, you already know that mushroom grow kits and ready-made cakes are one of the easiest ways to get into home growing: there's nothing to sterilise and no substrate to prepare from scratch, because that work has already been done for you. Even so, getting clean harvests means keeping a close eye on humidity, fresh air exchange and the key moments for hydration.
This is the compact block of substrate that has already been fully, or almost fully, colonised by mycelium. It's usually made from a mix of grain and fruiting substrate (vermiculite, coco coir or a combination of both), evenly colonised until the network of hyphae binds it into a solid block. Depending on the manufacturer, it may arrive completely white and ready to fruit, or only partly colonised and needing a few more days before it can be activated. If the cake has dark patches where the grain or substrate hasn't been colonised yet, keep the kit closed at room temperature (21-23 °C) for 2 to 4 days until the mycelium has finished colonising the surface, and only then hydrate it.
Bear in mind that some manufacturers include a separate sachet with the vermiculite top layer or casing. If that's the case with yours, follow the manufacturer's instructions for applying it (usually you just spread it neatly over the surface with a sanitised spoon when you uncover the cake).
Not all mushroom grow kits are the same. Commercially, they come in two formats, each with its own components:
The cake sits inside a rigid container (a tub), often topped with a layer of damp vermiculite that helps keep the surface moist. This format also comes with a clear greenhouse-style bag and clips to seal it. The bag goes around the tub and creates an enclosed microclimate where humidity stays high without you having to mist the substrate directly several times a day. This is the format that asks the most of you: setting it up in the bag, misting by hand and airing it out daily, as explained in the rest of this article.
All-In-One bags (such as Mycobag) already contain the colonised substrate and the fruiting bag itself in one package, with a built-in gas exchange filter. Daily care is kept to a minimum: there's no need to mist or open the bag to air it out. Just keep it somewhere at the right temperature and wait for harvest day.
The step-by-step process in the rest of this article (dunking, setup, manual fanning, side pins) is mainly aimed at the tub format, which raises the most questions because it involves more steps. If your kit is an All-In-One bag, much of this process won't apply in the same way, since the bag's design takes care of a lot of the work for you.
Commercial kits don't all follow the same system. The manufacturer's specific instructions always take priority over the general advice in this guide.
Before handling the kit, wash your hands thoroughly and wipe down your work surface with isopropyl alcohol. If you're going to touch the substrate directly, nitrile gloves reduce the risk even further. You can read more about this in the section on hygiene and sterility in mushroom growing in our general guide.
Dunking isn't a compulsory step for every kit. It's an initial hydration tool that depends on the format and the condition the substrate arrives in. The vast majority of today's formats, both All-In-One bags and modern tub kits, leave the lab at the ideal moisture level to fruit right away, with no need for a soak first.
However, if the manufacturer says your format needs to be activated with water, or if you notice the cake has arrived dry, has shrunk away from the sides or has lost weight in transit, a soak is what brings it back to life before you set up the bag.
Take the lid off the tub (keep it for the soaks between harvests) and place the open tub inside the fruiting bag that comes with the kit. The bag wraps around the tub and acts as a mini greenhouse. Mist water only onto the inside walls of the plastic bag (never directly onto the substrate) and seal the top with the clips, leaving some air inside. That pocket of air matters: a bag that's pulled too tight around the cake leaves no room for pins to form or for the air you'll be refreshing every day to circulate, so don't be tempted to seal it as tightly as possible thinking it will hold humidity better.
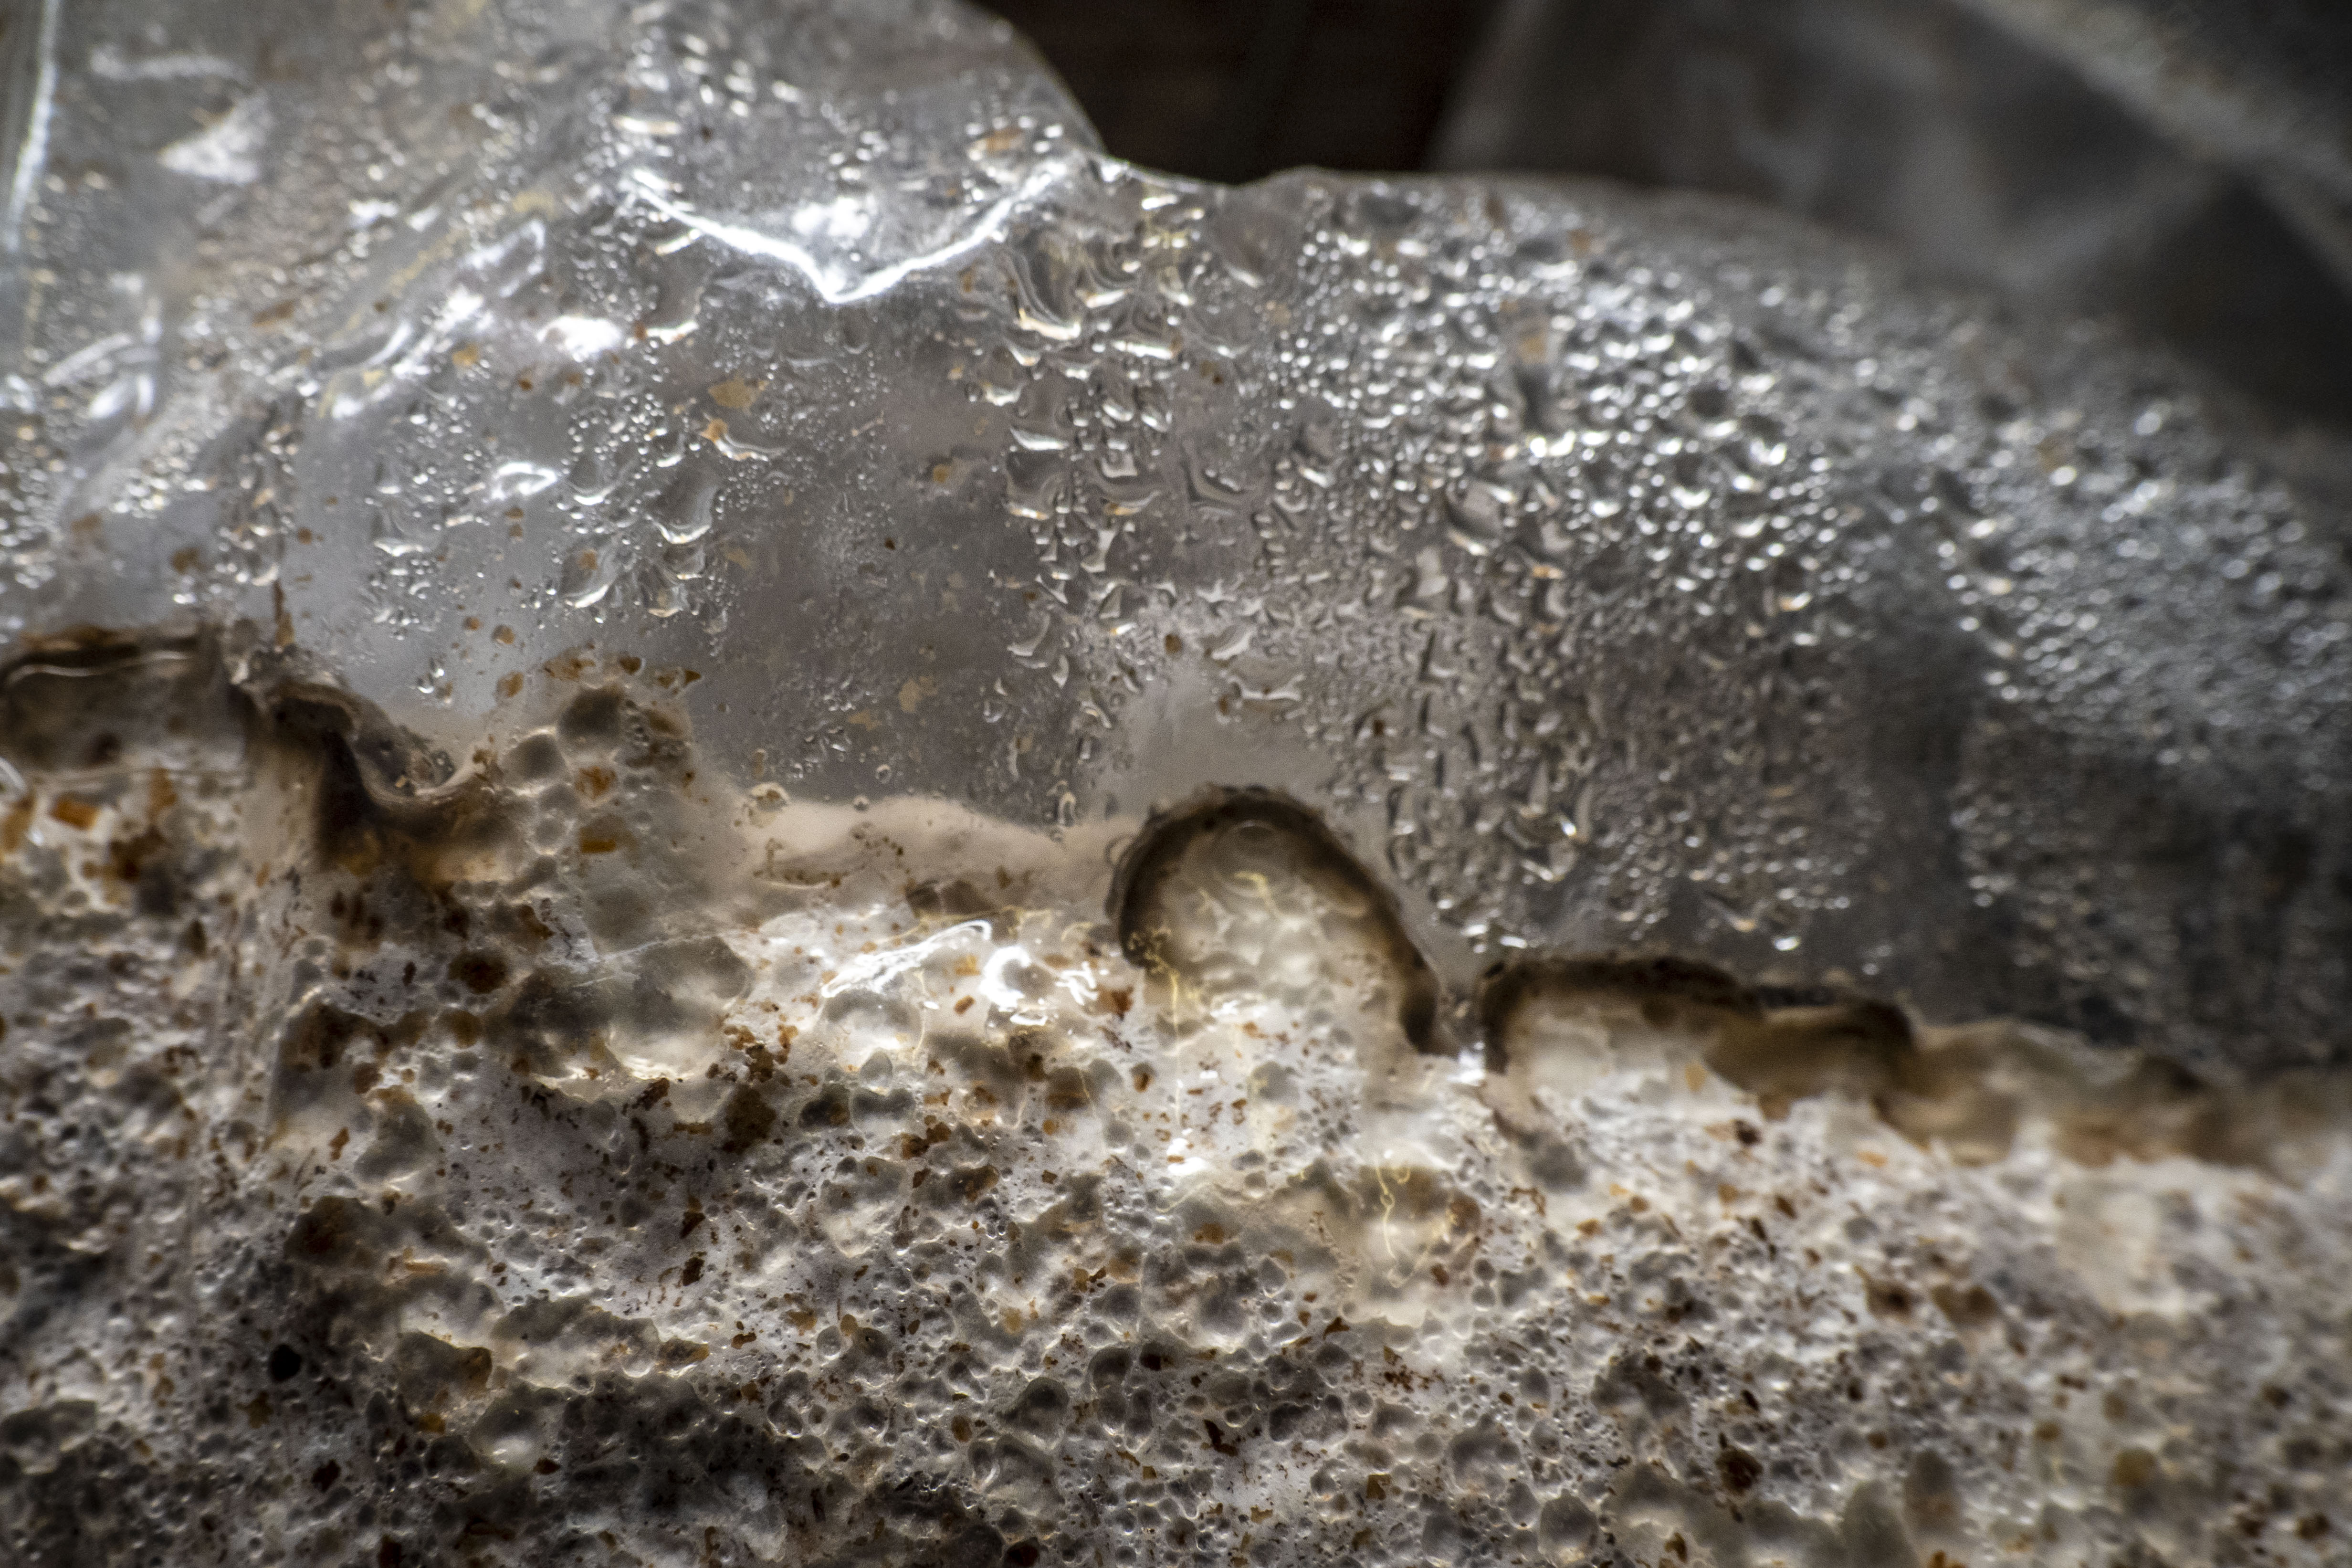
For the first 24 to 48 hours after setup, keep the bag closed and don't fan it, so the microclimate inside can build up to full humidity and the mycelium can recover from the water stress. Relative humidity rises and spreads across the walls, and the cake adjusts to its new environment after dunking. Opening the bag constantly at this stage just interrupts that settling process. Simply leave it in its final spot and wait, still without fanning, before starting the daily routine described below.
Here's an at-a-glance look at the four parameters to keep an eye on every day, with the ideal range and what to do if things drift out of it:
| Parameter | Optimal range | What to do |
|---|---|---|
| Temperature | 22 °C - 24 °C* | Keep it off cold floors; use a heat mat if it drops below 18 °C. |
| Relative humidity | 85% - 95% | Mist the inside walls if the condensation disappears. |
| Fresh air (CO2) | 2 to 3 times a day | Gently fan the bag to force fresh air in and stop CO2 from building up. |
| Lighting | Indirect ambient light | A few hours of soft light; always avoid direct sunlight. |
Once those first 24-48 hours have passed, open the bag briefly about three times a day to let fresh air in. Without this exchange, CO2 builds up and the mushrooms tend to grow with long stems and small caps. The most effective technique isn't just opening and closing it, but fanning: hold the bag by the top, open it and gently waft the air five to ten times before sealing it again. This refreshes the air far more thoroughly than simply leaving it open for a few seconds.
The goal is to keep an even film of condensation on the plastic. Mist water directly onto the inside walls (never onto the cake) while you have the bag open for fanning. If the walls dry out completely between mistings, it's time to mist again; if you see large droplets running down and pooling at the bottom of the tub, you've overdone it, so let it dry out a little before the next misting.
In very dry conditions (with the heating on in winter, for example) you may need to mist more often than usual, whereas in naturally humid spaces once a day may be enough.
Avoid putting the kit straight on the floor if your home is cold, as floors are usually cooler than the room and can slow down fruiting. If you use a grow heat mat, don't place the tub directly on it: direct contact can "cook" the base of the cake and dry it out from underneath without you noticing from above. Leave a small air gap, or put a piece of cardboard or a thin board between the mat and the container. Also avoid leaving the bag in direct sun on a windowsill: the plastic acts like a magnifying glass and can overheat the inside in no time, even when it's only mild outside. A thermo-hygrometer lets you check the exact readings rather than going by feel.
Timing and yield depend on the genetic isolate and the Psilocybe cubensis strain (such as Golden Teacher, B+, McKennaii or Mazatapec). The first pins usually appear 10 to 20 days after activation. Strains with a classic morphology fruit sooner, while dense or slow-growing mutations (such as PE types) need longer colonisation and pinning periods.
As a general guide, most kits give two to four worthwhile harvests before they're spent, with each successive flush yielding less than the last.
With tub kits, it's common for pins to appear along the sides or the bottom of the container, not just on the top surface. A common belief is that this happens because the plastic lets light through, but the real cause is the microclimate: as the mycelium uses up water, the cake shrinks and pulls away from the sides of the tub. That gap creates a pocket with very high humidity and stagnant evaporation, exactly the conditions the fungus looks for to form mushrooms.
Covering the sides with black tape or tinfoil won't fix it, because it doesn't get rid of that air pocket inside. There's also no need to go to the trouble of slipping in extra plastic or tipping the cake out early, as you could break the block or contaminate it. In a commercial kit, side pins aren't a fatal mistake and they don't harm the grow; they're just a bit more awkward to harvest.
While they're growing: don't force the tub open. Don't try to slide tweezers, knives or your fingers between the cake and the plastic to get them out early. Let them mature at their own pace alongside the mushrooms on top.
At harvest time: pick all the mushrooms on the surface first to clear the block. If the cake has shrunk enough and the sides are reachable, gently tilt the tub over a clean surface, wearing clean, sanitised gloves. Hold the block by one corner without squeezing and remove the side mushrooms with a gentle twist at the base.
If the mushrooms are pressed tightly against the bottom or sides and there's no room to get your fingers in, slowly pour cold water into one corner of the tub. Because it holds air in its internal structure, the mycelium cake will float up naturally (Float Tek) until it reaches the rim of the container. With the block raised above the tub, you can harvest all the mushrooms on the sides without any risk of breaking it.
The ideal time to harvest is the same as we explain in the general guide: just before the partial veil breaks. The only thing that's different with a kit is how much you can expect, which is usually more modest than with substrate prepared from scratch.
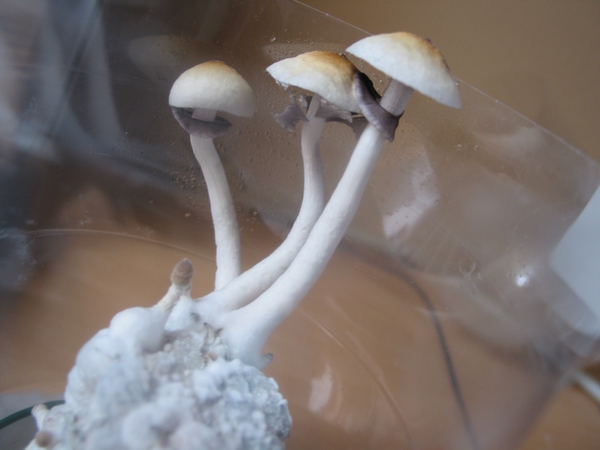
Harvesting on time matters even more than it seems. When the cap opens and drops its spores all over the surface of the cake, it doesn't just make a mess: the following flushes tend to come in weaker, with fewer mushrooms. Picking before that happens isn't only about the quality of the mushrooms you're harvesting, it also protects the yield of your next flushes.
To harvest, hold the mushroom by the base of the stem and give it a gentle twist while pulling slowly upwards, rather than yanking it, which can tear out a chunk of the cake along with the mushroom. If the mushroom is firmly anchored or growing in a dense cluster, cut it flush at the base with a scalpel or scissors sanitised with alcohol.
Take extra care if you're harvesting in a tight space like a tub, so you don't knock or squash neighbouring pins that aren't ready yet. If you're left with a small stump sunk into the substrate, or with aborts (tiny mushrooms that have stopped growing and whose heads turn black or dark brown), remove them with tweezers sanitised with alcohol instead of leaving them there: dead tissue that hasn't been recolonised is the main source of bacterial contamination and mould during the second soak.
After the first harvest, carefully remove any leftover bits of stem or loose substrate from the surface. Next, rehydrate the cake to replace the water used up by the first flush. For this second dunk, fill the container with cold bottled water and leave the cake to soak: modern commercial cakes usually need shorter soaks, from one or two hours if the cake still holds some moisture, up to 5 or 6 hours if it feels very light and dry to the touch. After that, drain off every bit of excess water before setting the bag up again.
It's normal for each flush to be a little smaller than the one before: most kits give two to four worthwhile flushes before the yield drops so much that it's no longer worth carrying on. If, on a new attempt, the cake takes much longer than usual to pin, or its colour and smell start to change (check our guide to preventing and spotting contamination in mushroom growing if you're unsure), that's a good sign it's time to call it a day.
This is almost always a sign of poor fresh air exchange. Excess CO2 trapped in the bag pushes the fungus to stretch its stem in search of fresh air, at the expense of a small, underdeveloped cap. Look at how often you're fanning.
If you see a thick, white, cottony layer around the base of the stem, it isn't mould and it doesn't affect the mushroom. It's known as fuzzy feet, or aerial mycelium, and it usually shows up when CO2 has built up near the surface of the substrate. Essentially, it has the same cause as long stems and small caps, so the fix is the same too: fan more often or more vigorously.
It isn't contamination. Bruising appears when the fungal tissue gets damaged (from a knock, misting too hard directly on it, or rough handling) and the active compounds oxidise on contact with the air. It's a normal reaction of the fungus itself, not a sign that anything is wrong with your grow.
Start by checking the basics: keep the temperature steady between 21 and 24 °C and make sure the surface of the cake still has tiny glistening droplets (moist, but with no puddles). In Psilocybe cubensis, what actually triggers pinning is fresh air exchange combined with gentle evaporation of that surface moisture under indirect light.
Don't put the kit in the fridge. The idea of a cold shock comes from growing wood-loving or temperate-climate mushrooms (such as oyster mushrooms or shiitake). P. cubensis is a subtropical species, so a sudden chill only slows the mycelium down and leaves the door open to bacterial contamination.
If conditions are right and the cake still isn't responding, take a look at the surface: if the mycelium has formed a dense, white, rubbery film that repels water (known as overlay), gently scratch that top layer with a sanitised fork and add a very thin layer of damp vermiculite to restore the microclimate.