








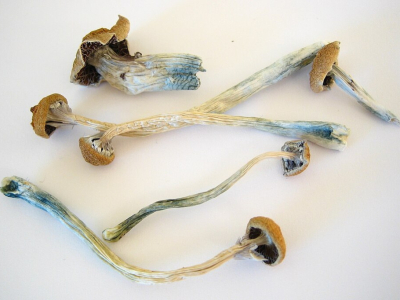


Fantasia Truffles - Mushmagic
Magic truffles
€16.99Price
To access our site, you must confirm that you are at least 18 years old.


If you've made it to harvest, you already know the satisfaction of seeing the results of weeks of work. You've controlled humidity, temperature and airflow, kept everything clean, waited patiently, and finally your mushrooms are picked and laid out on the tray. It feels like a victory. But the harvest isn't the finish line. It's more like the second-to-last leg of a race that can still fall apart right before the end.
Drying is the stage that separates a harvest that keeps for months from one that spoils within days. Rushed or poorly executed drying doesn't just open the door to moulds and bacteria that will ruin the product; it also degrades its quality, aroma and properties.
In this guide we'll look at why drying mushrooms matters so much, which methods to use, which ones to avoid at all costs and how to tell when your mushrooms are ready to store.
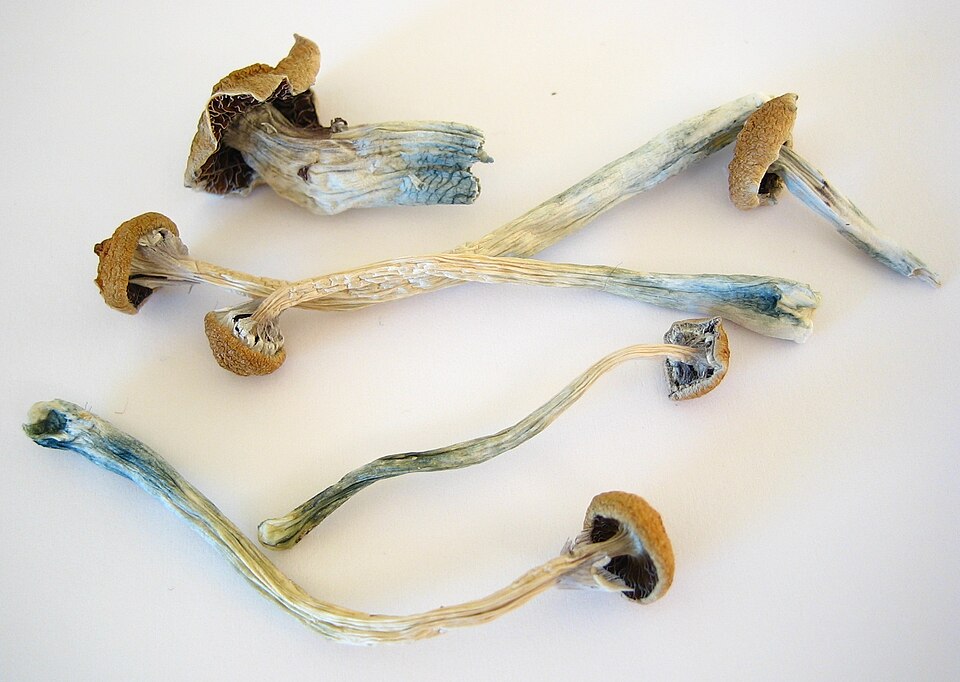
When you pull a mushroom from its substrate, you're holding an organism made up overwhelmingly of water. In a fresh mushroom, water content usually sits between 90% and 92%. That's a huge figure, and it explains why a seemingly abundant harvest shrinks to a fraction of its weight once dried.
That internal moisture is a problem for two different reasons. The first is obvious: damp tissue left at room temperature is the perfect ecosystem for unwanted fungi and bacteria to thrive. The second is subtler but just as important. Moisture is the main driver of oxidation, the chemical process that breaks down the compounds that give the mushroom its value.
Oxidation speeds up when damp tissue is exposed to oxygen in the air for too long. Many varieties show this degradation to the naked eye: handle them roughly or leave them wet, and the tissue takes on dark or bluish tones. That darkening isn't a sign of quality or anything positive; it's physical evidence that the tissue is oxidising and deteriorating.
The bluing that appears when tissue is handled or damaged is an oxidative chemical reaction, not an indicator of higher potency. A specimen that turns intensely blue doesn't necessarily contain more psilocybin or psilocin than one that oxidises less. What's more, drying significantly slows enzymatic and microbial processes but doesn't stop them entirely: the chemical profile of a dried mushroom isn't identical to that of the same mushroom fresh, and it can keep changing depending on how it's stored afterwards.
So the goal of drying can be summed up in one sentence: remove the water as quickly as possible to slow oxidation, but use methods that don't subject the mushroom to destructive heat stress. Fast, yes; aggressive, never.
The first step is a basic clean: remove any substrate, soil or debris stuck to the base of the stem. There's no need to rinse the mushrooms under the tap (adding water is the exact opposite of what we want); a gentle brush or a cloth is enough.
The second step is about size. Small, thin pieces dry on their own without any trouble, but thick, dense, fleshy mushrooms are another story. A thick stem acts like a real moisture trap: the outside can look dry while the core is still soaked, and that damp core is where rot begins. The professional technique is to make a clean lengthwise cut with a sharp knife, splitting the thickest specimens in half. That simple step exposes the spongy inner core directly to the airflow, cuts drying time and eliminates the risk of rotting from the inside.
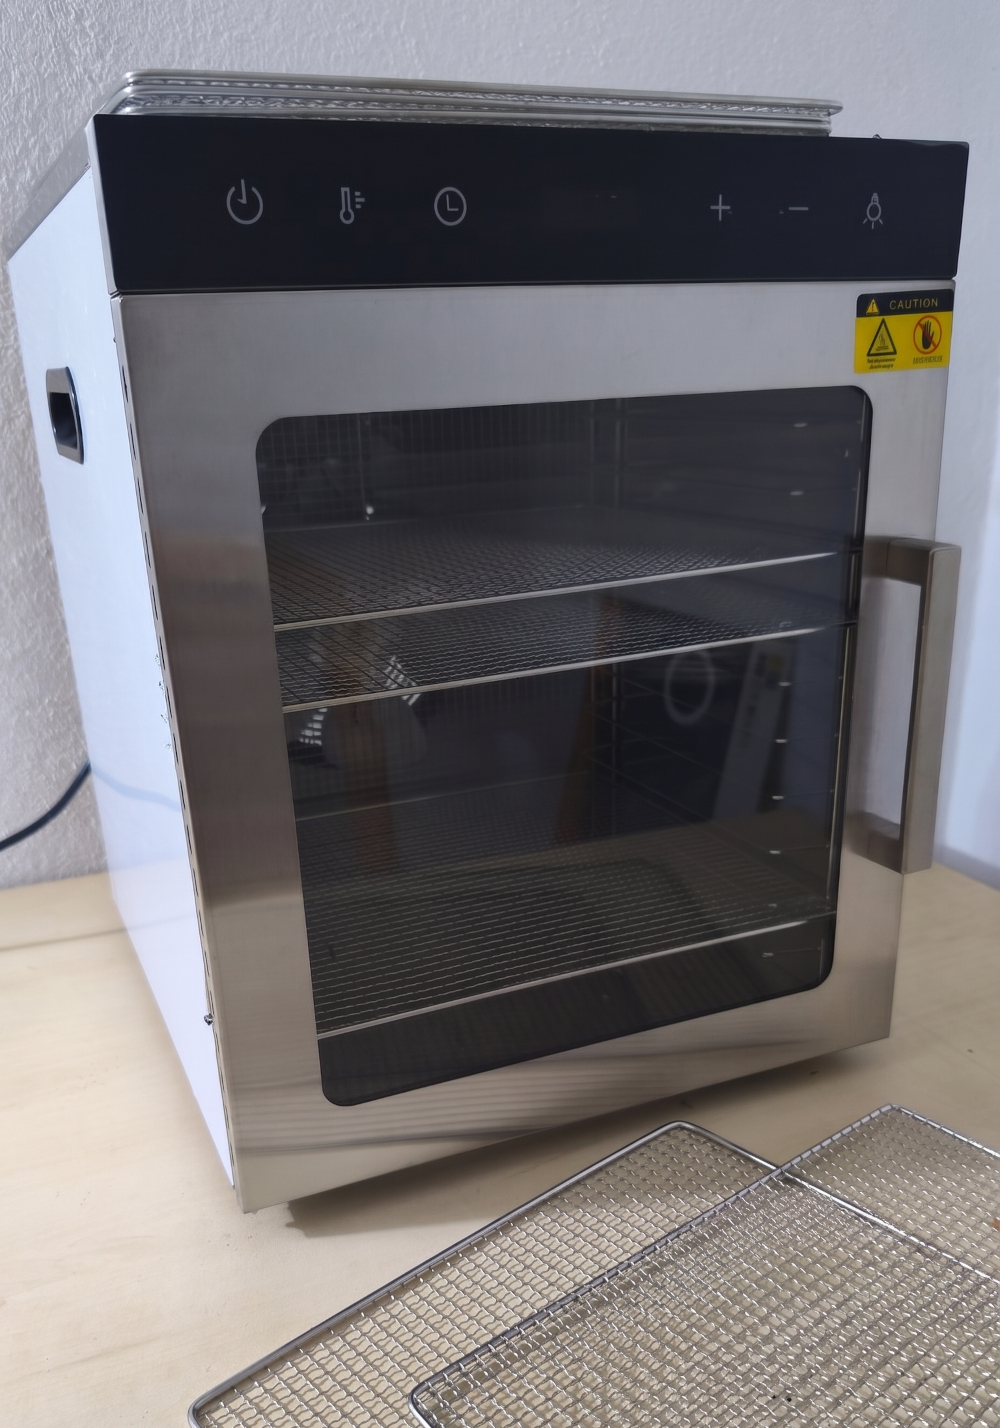
If you harvest fairly regularly, investing in a food dehydrator is the smartest decision you can make. Outside an industrial setting, it's without doubt the safest, most even and most effective method there is. The secret of its success is the thermodynamic balance it achieves: a continuous flow of dry air that draws moisture from the core outwards in a steady, controlled way.
Temperature is the key. Set the thermostat to a low range, ideally between 35 °C and 40 °C. In that window, the dry air wins the battle against moisture without the heat degrading the tissue's delicate compounds. Turning the temperature up doesn't speed things up in any useful way; all it does is start cooking the product. Depending on how thick the pieces are, full drying usually takes between 12 and 24 hours.
Freeze-drying, or vacuum sublimation, is the technological pinnacle of biological sample preservation. It's an expensive method that requires specialised equipment, so it's out of reach for most home growers, but it's worth understanding why it's considered the gold standard.
Unlike a dehydrator, it uses no hot air at all. The process starts by flash-freezing the mushrooms to around -40 °C. Once the water inside is completely frozen, a vacuum chamber drastically lowers the pressure, allowing the ice to go straight from solid to gas without ever melting into liquid; this physical phenomenon is called sublimation. The result is a mushroom that keeps practically 100% of its original size, structure and colour, with no shrinking or deformation. The downside, as we've said, is the cost of the equipment.
If you don't have a dehydrator yet, this two-step method guarantees safe drying at room temperature. It's slower, but very reliable.
The first stage is to lay the fresh mushrooms on a breathable mesh or rack, directly in front of an ordinary fan (no heat), for 24 to 48 hours. That constant airflow removes most of the surface moisture and leaves the pieces in a state usually described as "dry to the touch".
The second stage deals with residual moisture, the hardest to get rid of. You'll need a fully airtight container and a desiccant such as silica gel. Spread a layer of desiccant on the bottom of the container and place the mushrooms on top, but (and this is important) always use a separating rack so the tissue never comes into direct contact with the desiccant. In the sealed environment, the silica gel will absorb every last molecule of ambient moisture until the mushrooms are completely dry.
| Method | Temperature | Approximate time | Resulting quality | Cost / Accessibility | Recommended |
|---|---|---|---|---|---|
| Electric dehydrator | 35-40 °C | 12-24 hours | Very high | Medium | Yes (best home option) |
| Freeze-drying | Freezing + vacuum | Variable | Excellent | Very high | Only if you have access |
| Fan + desiccant | Room temperature | 2-4 days | High | Low | Yes (homemade alternative) |
| Kitchen oven | >50 °C / Unstable | Variable | Low | Low | No |
| Direct sunlight | Variable | Variable | Very low | Low | No |
Some popular shortcuts, many of them passed down from unverified forums, can undo weeks of work. These are the main ones.
The kitchen oven. This is probably the most common and most serious mistake. A home oven isn't designed to produce gentle airflow or to hold stable temperatures below 50 °C. Its heating elements give off bursts of intense radiant heat, and with no active ventilation to carry the steam away, the mushrooms end up literally stewing in their own juices. The thermal shock breaks down the tissue's structures and ruins both the texture and the properties of the product.
Sun drying. Making the most of a sunny day works wonders for herbs, but it's lethal for mushrooms. Direct exposure bombards the tissue with ultraviolet radiation, and those photons break down compounds through a process known as photodegradation. The result is a mushroom that loses much of its value before it has even finished drying.
The overall lesson is simple: improvisation is the enemy of drying. Methods that apply uncontrolled heat or direct light destroy exactly what you're trying to preserve.
Every successful drying process comes down to managing four variables:
Temperature. This is the central balancing act of the whole process. Too low and drying drags on, giving mould time to appear; too high and you degrade the product. The dehydrator's 35-40 °C range exists precisely because it hits that sweet spot.
Ambient humidity. Dry air pulls water out easily; humid air saturates the process and slows it down. In humid climates or seasons, a desiccant or a room with a dehumidifier makes all the difference.
Ventilation. Stagnant air around the mushrooms becomes saturated with vapour and stops the drying. Constant circulation carries that vapour away and keeps the process going. That's why the fan works and the closed oven doesn't.
Size and thickness of the pieces. The thicker the piece, the longer the core takes to dry. Evening out the size (by cutting the thick pieces) ensures everything dries at the same time, without brittle pieces sitting next to ones that are still damp.
How can you know for sure that drying is finished? The benchmark is known as the Cracker Dry texture: dry as a cracker. The test is simple and leaves no room for doubt.
Take the thickest, heaviest stem you can find on the tray (if that one is dry, the rest will be too) and try to bend it. Here's the key: if the tissue bends, gives or shows even the slightest elasticity or rubbery texture, it still needs more drying. A properly dried mushroom doesn't bend: it snaps cleanly in two, instantly, with a dry, audible crack. That snap is the unmistakable sign that you've reached the perfect point. When in doubt, it's always better to give it more time than to store a half-dried piece, because a single mushroom with residual moisture can contaminate an entire jar.
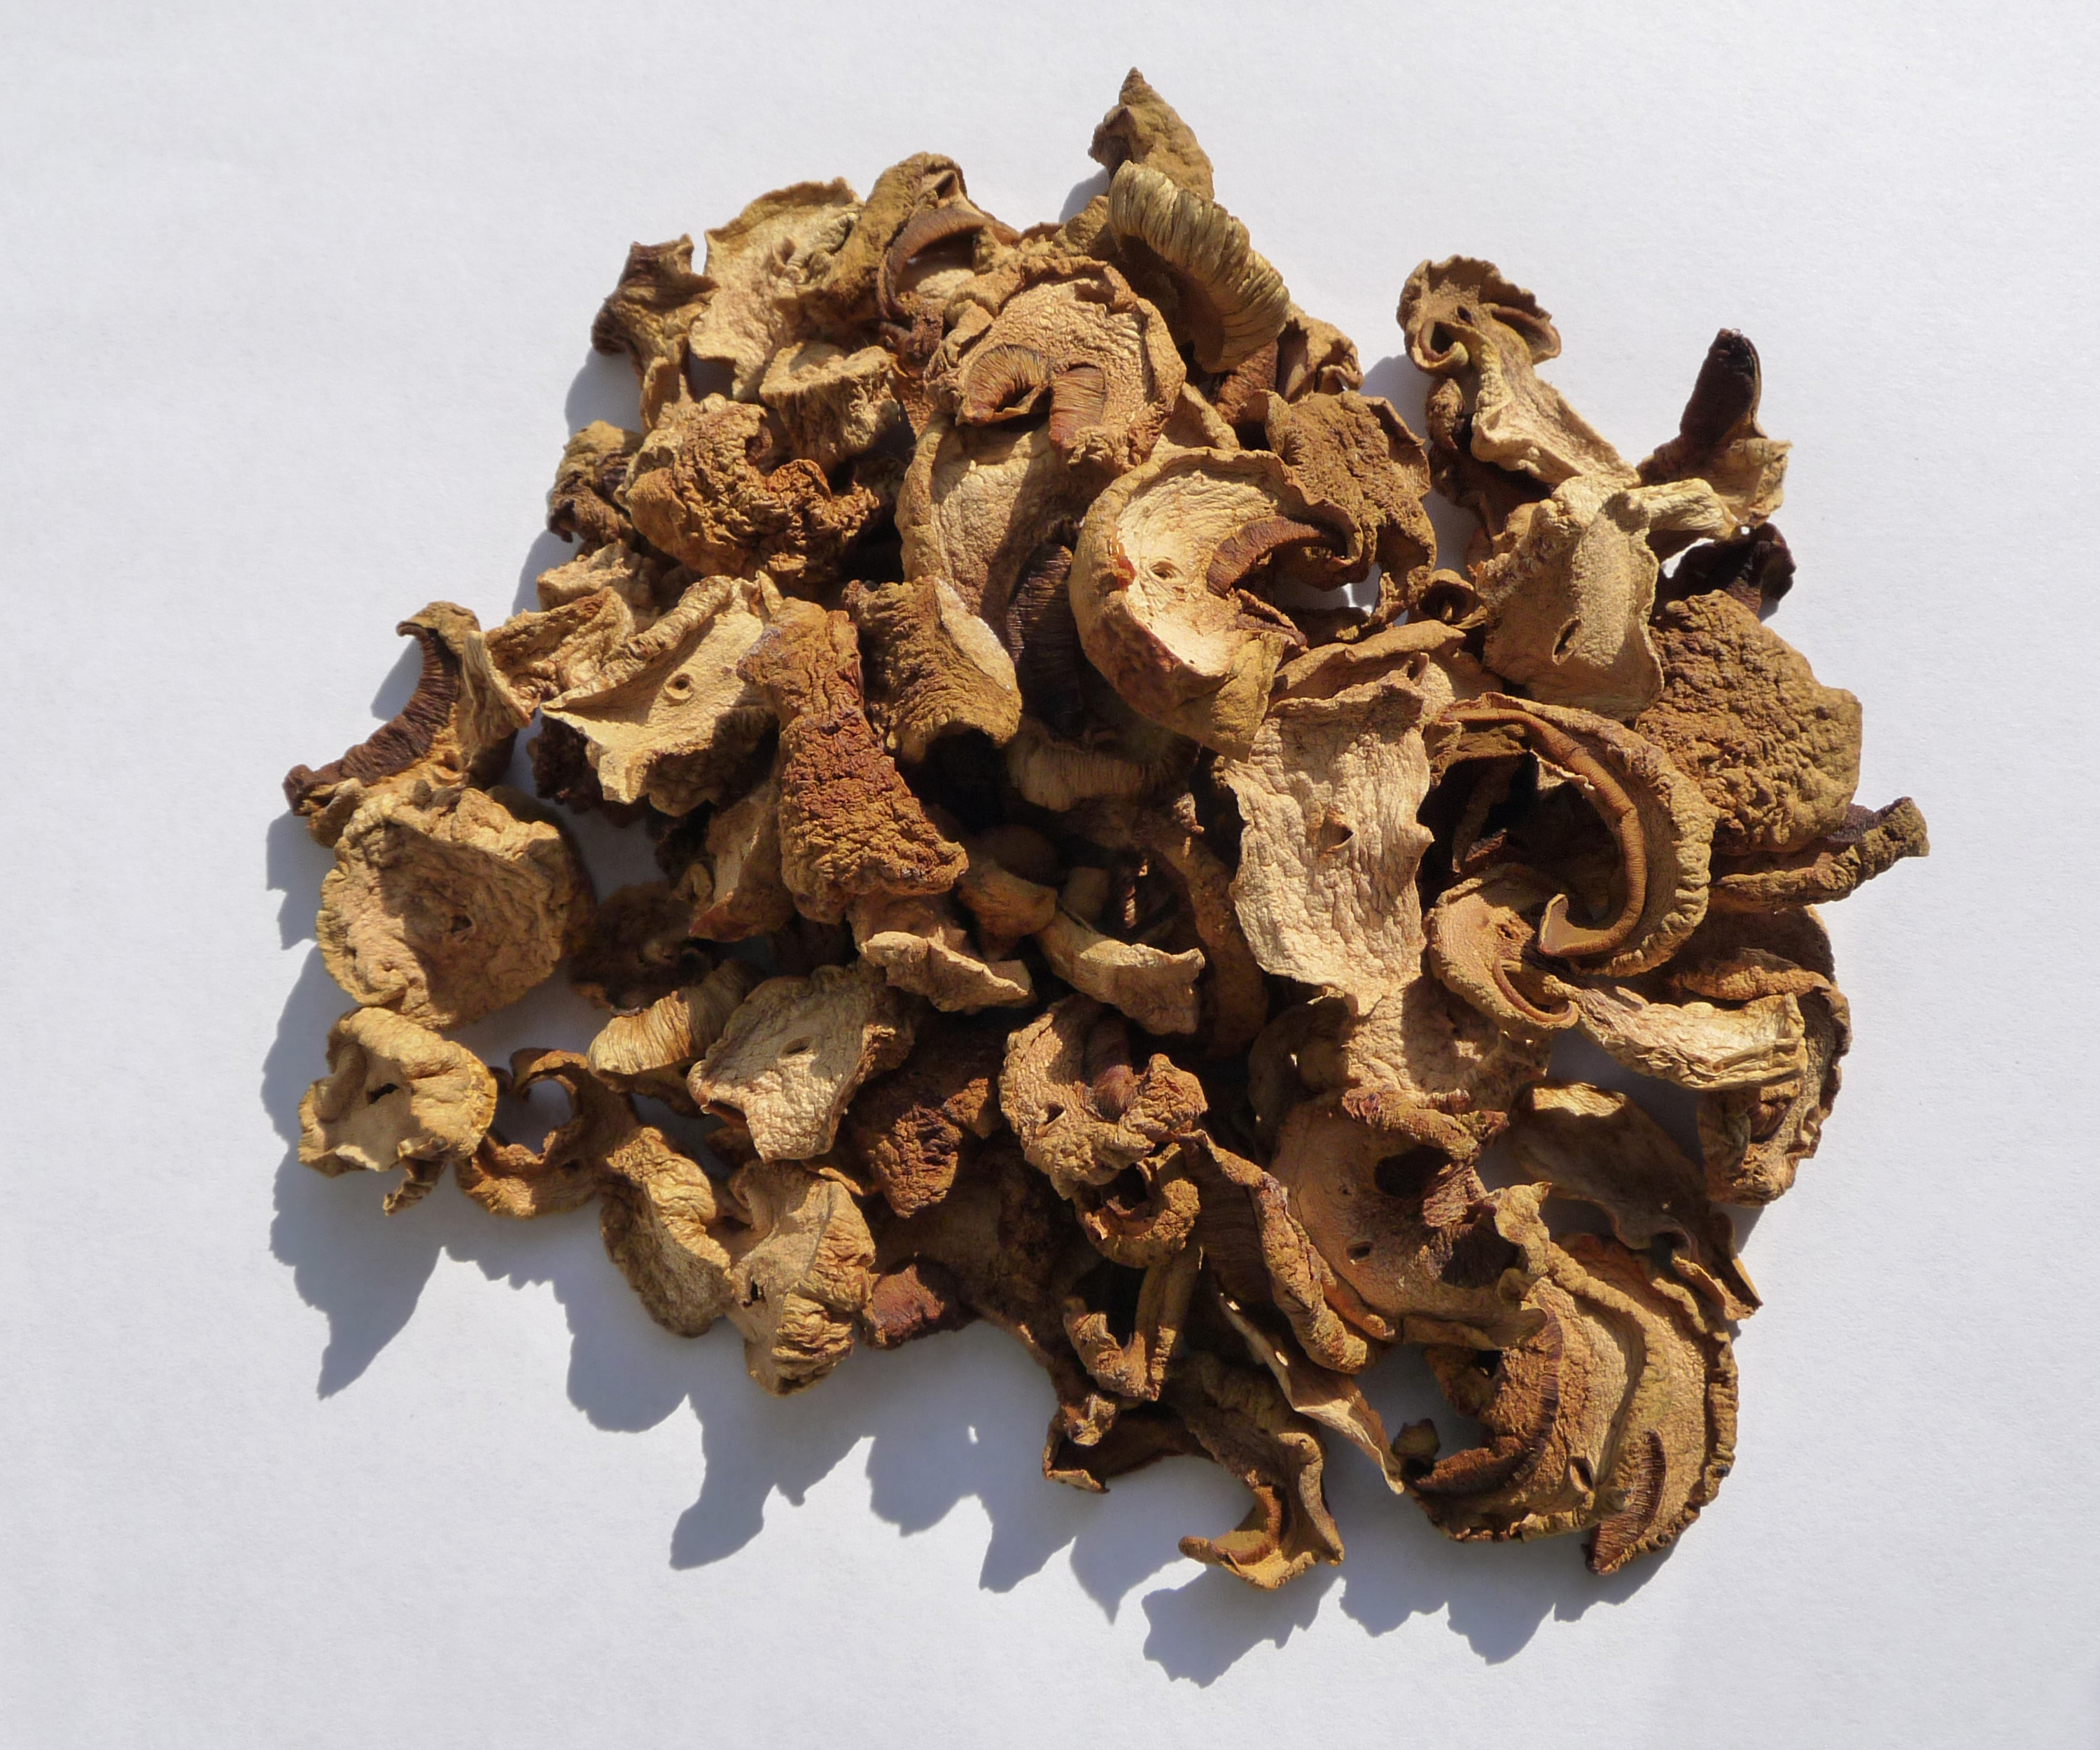
Reaching the Cracker Dry point is half the job; the other half is storing the mushrooms properly so all that effort lasts. The recommendations are clear:
Use thick glass jars with an airtight lid and rubber seal. Glass doesn't absorb odours or moisture, and the airtight seal keeps the contents isolated from the outside air. Put one or two food-grade silica gel sachets in each jar; they'll pre-emptively soak up any ambient moisture that sneaks in when you open and close it. And keep the jars somewhere cool, dry and completely dark, since light and temperature swings speed up degradation.
For storage over several months or more than a year, refrigeration is an excellent option. Airtight jars with silica gel can go in the fridge without any problem, as long as the mushrooms have reached the Cracker Dry point. The extra cold slows down any residual degradation even further. Avoid freezing unless you need to keep them for very long periods and you're sure no residual moisture remains.
Over time, good signs of preservation are a texture that stays brittle, a complete absence of mould or strange smells, and colour and shape that stay true to the original. If you open a jar and something smells off or you notice softened pieces, moisture has got in and you should check the seal.
The mushrooms won't fully dry. It's almost always a question of thickness or ambient humidity. Cut the thickest pieces to expose the core, improve ventilation and, if the air where you live is humid, use a desiccant for the final stage.
Mould or unpleasant smells appear. This is the unmistakable sign that residual moisture remained or that the process was too slow. Mould can't be undone: the affected piece has to be thrown away. To prevent it, never store mushrooms that haven't passed the snap test.
The product loses quality or texture. This is usually caused by too much heat during drying (an oven, too high a temperature) or by exposure to light during storage. The solution is to stick to the low temperature range and keep the jars in total darkness.
Can you dry mushrooms in the microwave? It's possible in theory, but not recommended. Microwaves heat unevenly and are very hard to control; the risk of overheating and spoiling the product is high. If you have no other option, do it on low power in very short bursts, keeping a constant eye on it.
How do you air-dry mushrooms? Lay them on a mesh or rack in a dry, shaded, well-ventilated spot. Avoid direct sunlight and humidity, and turn them from time to time so they dry evenly. It's a slow, weather-dependent method, best combined with a final desiccant stage.
Is using the oven a good idea? Not for quality drying. Most home ovens don't go low enough in temperature or vent the steam, so they tend to cook rather than dry. A dehydrator is a modest investment that solves the problem completely.
What temperature should the dehydrator be set to? Between 35 °C and 40 °C (95 °F – 104 °F). That's the range that removes moisture effectively without putting the tissue under heat stress.
How long do mushrooms last once dried? Properly dried (Cracker Dry point) and properly stored (airtight jar, silica gel, cool and dark place), they stay in good condition for many months, and even more than a year depending on the variety.
How do I know if they've gone bad? The warning signs are visible mould, an unpleasant smell and a softened or rubbery texture. Any one of them means moisture has got in; the affected piece has to be thrown away.
Mastering drying is the skill that sets an experienced grower apart from a hobbyist. You can run a flawless grow for weeks and still lose the entire harvest at the very last step through haste or by trusting a poorly advised shortcut. Fortunately, the principles are few and clear: remove the water quickly without damaging the tissue, control temperature, humidity and ventilation, check the point with the snap test and store somewhere cool, dry and dark. Once you've internalised those fundamentals, every harvest will keep in top condition for months.
Related posts
Growing guide for mushroom kits and cakes
Published :
2026-09-28 21:06:43

How to grow psilocybe mushrooms at home: a beginner's guide
Published :
2026-07-27 14:00:53

How to prevent and treat contamination in mushroom cultivation
Published :
2025-07-14 09:36:11