










Fantasia Truffles - Mushmagic
Magic truffles
€16.99Price
To access our site, you must confirm that you are at least 18 years old.


Growing psilocybe mushrooms at home seems like a world apart until you start looking for information: grow kits, PF Tek, monotubs, sterilization, substrates... Each method has its own vocabulary and its own advocates, and it's easy to end up more confused than when you started.
This guide won't teach you to execute a specific method step by step. What you will find here is the complete map: what you need before starting, what options you have and why you'd choose one over another, what conditions your cultivation must meet regardless of the method you choose, and how to know if something is going wrong before it's too late.
If this is the first time you're considering cultivating, start here. If you already know which method you want to use, this article also works as a quick reference to come back to whenever you have doubts about temperature, humidity or hygiene, no matter what phase of the process you're in.
Every cultivation, whatever the method, follows the same underlying sequence. Understanding this sequence is what makes the rest of the guide make sense, so it's worth pausing here for a moment before talking about materials or methods.
It all starts with mushroom spores or with liquid culture (a broth with already-active mycelium, an increasingly popular alternative because it shortens times and reduces the risk of contamination). That starting point is introduced into a substrate, normally cereal grain in a first phase.
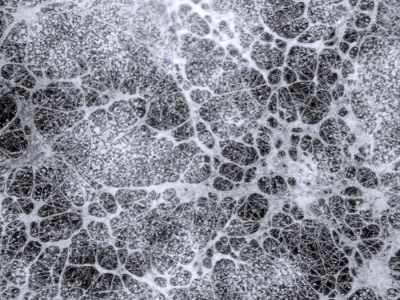
From there, the mycelium (the network of white filaments that is, in reality, the living organism of the fungus) begins to expand and colonize that substrate, feeding on it. This colonization phase can last between one and three weeks depending on the method and conditions, and it's the phase where hygiene matters most: any contaminant that enters at this point competes directly with the mycelium for the same food.
Once the substrate is completely colonized (white from end to end, with no uncovered areas), the transition to a fruiting substrate takes place, normally larger and with better moisture retention. This is where fruiting activates: the mycelium, upon noticing changes in its environment (more indirect light, more fresh air, more humidity), begins to form the primordia, those small bumps that over time become the mushrooms proper.
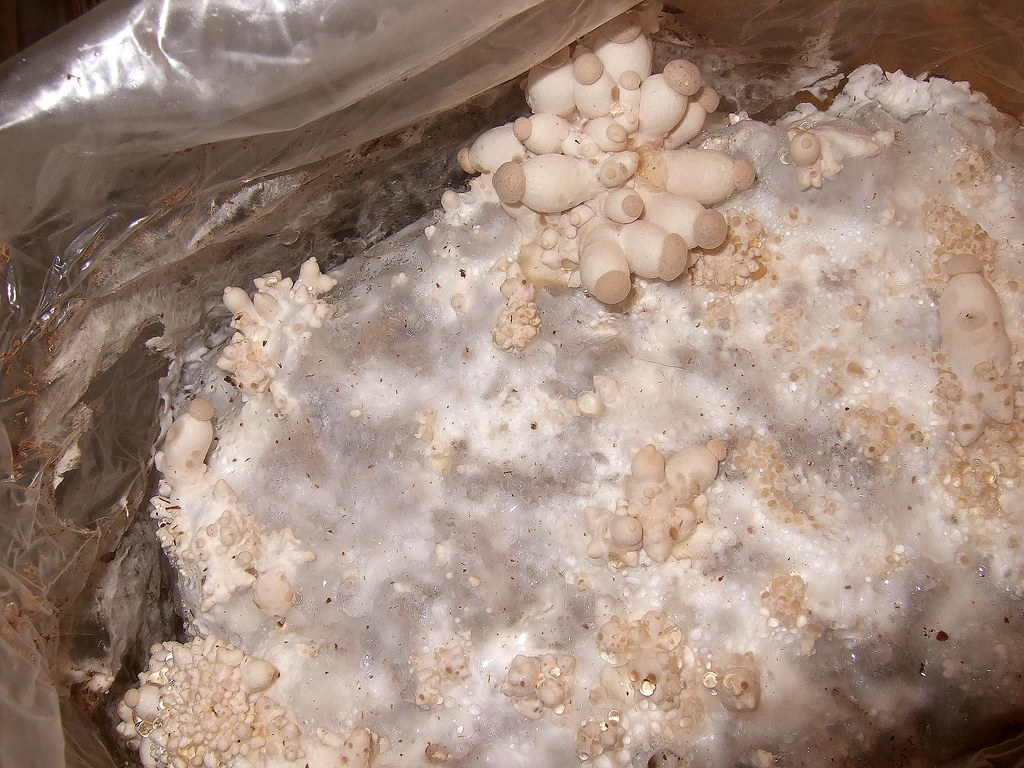
Finally comes the harvest, which is done just before the partial veil (the thin membrane that connects the cap to the stem) breaks. After the first harvest, many substrates yield one or several more waves (the so-called "flushes"), with decreasing production in each one.
Chronologically, the complete process from when you introduce the spores until the first harvest usually ranges between 4 and 8 weeks, depending on the genetics and the stability of your environmental parameters.
This sequence (colonization, fruiting, harvest) is the guiding thread of everything that comes afterward in this guide: the materials you need, the environmental conditions and hygiene all exist to properly accompany each of these phases. If you want to go deeper into the biology behind this whole process, you have the complete explanation in The life cycle of fungi.
It doesn't matter which method you choose later on: there's a set of materials you'll need no matter what. It's worth having them clear from the start, so you don't find yourself mid-process discovering that something is missing.
Biological starting point. Spores (in a syringe or in a print) or liquid culture. Spores are the most traditional and accessible option; liquid culture shortens colonization times and usually gives fewer contamination problems, although it requires an extra preparation step.
Substrate. You'll need at least two types: one for colonization (normally cereal grain, such as rye or millet) and one for fruiting (mixtures based on vermiculite, coco or straw, depending on the method). Each method has its own specific proportions and preferences, but the underlying logic is always the same: a rich substrate to get started, a more voluminous one to produce.
The disinfection kit. It's easy to focus only on the biological side and forget that half of what you need has nothing directly to do with the mushrooms, but with keeping everything clean. This includes 70% isopropyl alcohol (to disinfect surfaces and hands), nitrile gloves, a mask, and a torch lighter or a stove if you're going to sterilize the substrate yourself. None of these items produces mushrooms, but without them it's much more likely that your cultivation will end up contaminated before it manages to produce any. We'll come back to this in more detail in the hygiene section, but it's worth having it on the shopping list from now.
Containers. Jars, filter grow bags or a monotub-type container, depending on the method. This is what varies most from one technique to another, and it's precisely what we'll cover in the next section.
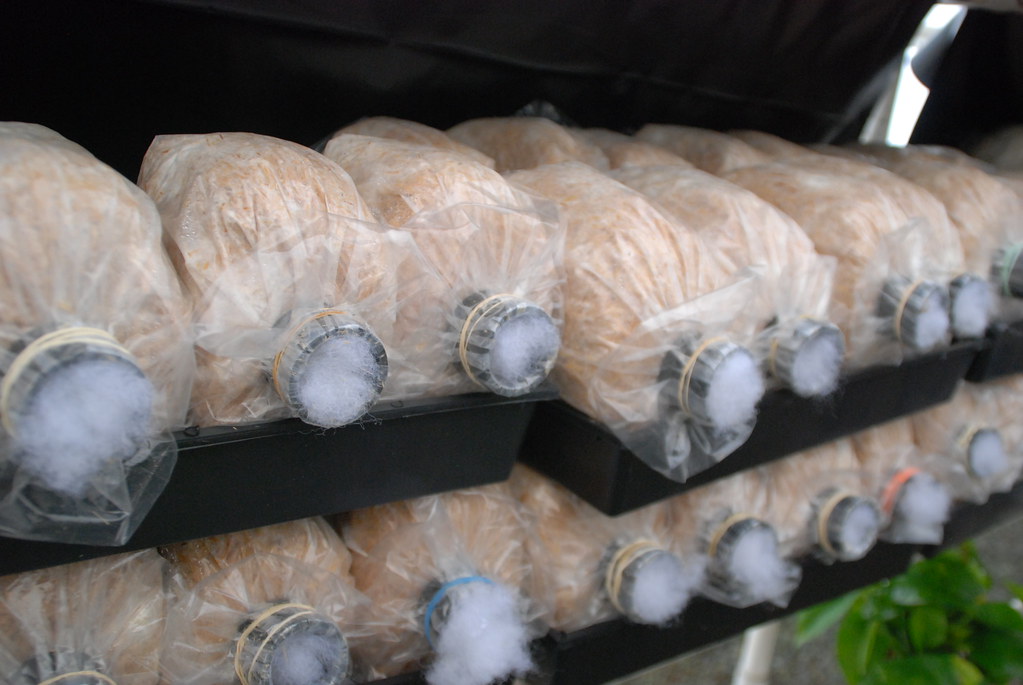
There is no single path for growing at home. These are the three most common approaches, ordered from lowest to highest harvest volume and, in general, from lowest to highest complexity.
Kits and mushroom cakes. A block of already-colonized or nearly-colonized substrate that only needs the right conditions to fruit. Mushroom grow kits are the option with the smallest learning curve: there's nothing to sterilize or substrates to prepare from scratch, because that work already comes done. In exchange, the harvest is usually more modest and the cost per gram produced is higher than if you prepare your own substrate. It's the ideal entry point if you want to see the fruiting process up close without taking on the contamination risk of the earlier phases.
PF Tek (jars). The classic method, popularized in cultivation forums for decades. Grain or "brf cake" type substrate is prepared in sterilized glass jars, inoculated with spores or liquid culture, and once colonized it's moved to a homemade fruiting chamber. It's more laborious than a kit, because it involves sterilizing the substrate yourself, but it's also more economical in the long run and gives you much more control over the process. It's the natural entry point for those who want to truly learn to cultivate, without yet making the leap to large volumes.
Monotub. The method designed to produce in quantity. A large container is used (the "monotub" that gives the method its name) with several kilos of already-colonized grain substrate, mixed with a bulk fruiting substrate. It's the method that offers the most harvest per cycle, but also the one that demands the most attention to ventilation and humidity on a large scale, and it usually requires having colonized the grain beforehand by some other method (normally jars). It's not the recommended starting point for those cultivating for the first time, but the logical next step once you already master the basics.
If you had to keep just one idea from this whole article, it would be this one: most cultivations that fail don't do so because of a temperature or humidity error, but because of contamination. And contamination, in the vast majority of cases, can be prevented with careful hygiene from the very first minute.
The reason is simple: the substrate you prepare for your cultivation is not only appetizing for psilocybe mycelium, it's also appetizing for mold, bacteria and other fungi that are, literally, everywhere (in the air, on your skin, on any surface in your house). When you inoculate a substrate, you're not sowing on a blank canvas: you're starting a race between your mycelium and everything else that also wants that food. The cleaner the starting point, the more advantage you give to the fungus you're interested in.
This is where the disinfection supplies we mentioned in the materials section come in. 70% isopropyl alcohol is used to disinfect work surfaces, jars, gloves and any tool before touching the substrate. Nitrile gloves and the mask reduce the amount of bacteria and environmental spores you introduce yourself without realizing it, simply by breathing or touching things with bare hands. And the torch lighter is used to flame (sterilize with direct heat) needles, jar mouths or any point through which you're going to inoculate, right before doing so.
Two concepts are worth clearly differentiating:
You don't need a laboratory to achieve a reasonably sterile environment at home: a disinfected surface, clean and gloved hands, working near a flame (which creates a small upward air current that pushes particles away) and avoiding air currents and unnecessary movement in the room during inoculation are enough for most home cultivations. To facilitate this isolation and have a clean, draft-free space in any room, a controlled environment like this specific cabinet is the most practical solution:
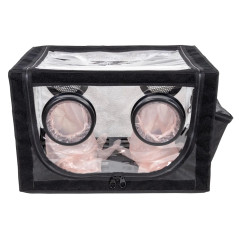
The most demanding methods in this respect (like large-scale monotub) usually benefit from somewhat more sophisticated tools, such as a homemade laminar flow hood, but that's already a later step, not a starting requirement.
Once you're clear on how to keep everything clean, the next factor that determines whether your cultivation thrives or not is the environmental conditions. Unlike hygiene, which is mostly a matter of procedure, this is more a matter of constant vigilance: you have to keep certain parameters within a range for days or weeks in a row.
Temperature. The ideal range varies slightly depending on the strain, but as a general reference: colonization usually goes better between 24 and 27 °C, while fruiting works better with somewhat lower temperatures, between 18 and 24 °C. Temperatures below this range slow the process down considerably; above it, they increase the risk that certain contaminants (which usually tolerate heat better than the mycelium itself) gain the advantage.
Humidity. It's probably the parameter that gets most misinterpreted at the beginning. You have to distinguish between the humidity of the substrate itself (which must be moist but not waterlogged, something that is adjusted when preparing the substrate, not afterward) and the relative humidity of the air in the fruiting chamber, which is actively controlled during that phase and which you normally aim to keep between 85 and 95%. What in mycology is known as field capacity is precisely that optimal point of the substrate: hydrated to the maximum but, if you squeeze it by hand, only a few drops of water fall, never a stream. Air that is too dry dries out the surface of the substrate and stalls the formation of primordia; stagnant, oversaturated air, without ventilation, favors the appearance of mold.
Ventilation (air exchange). This is where many cultivations fail without the grower fully understanding why. The mycelium, as it breathes, releases CO2, and an excessive accumulation of CO2 in the fruiting chamber produces deformed mushrooms, with long stems and small or poorly formed caps, instead of compact, well-developed specimens. The solution is not to stop keeping humidity high, but to alternate exchanges of fresh air several times a day (through passive ventilation or holes, depending on the method) without that causing the humidity to plummet.
Light. Here it's worth dismantling a common myth: light doesn't feed the fungus, because fungi don't do photosynthesis. What the mycelium does need is a signal of indirect light (not direct sunlight) to orient the formation of the primordia toward the opening of its container. A few hours of indirect light a day, of the kind that comes in through a window without direct sun, or a dim artificial light, is more than enough: many growers use a cycle of 12 hours of light and 12 of darkness as a simple reference, without needing to be strict about the schedule or leave any light on all day.
These four factors (temperature, humidity, ventilation and light) always act together, never separately: raising the humidity without ventilating, for example, is usually as problematic as not humidifying at all. The skill of cultivating well is, deep down, mostly the skill of balancing these four elements with each other, and that is refined with practice more than with theory.
However careful your hygiene is, at some point you'll probably encounter a contamination. It's a normal part of learning, and knowing how to recognize it in time is what makes the difference between losing a single cultivation or exposing the rest of your active projects.
The golden rule is simple and requires no technical knowledge: look at the color and the smell.
Color. Healthy mycelium is white, dense and cottony in appearance. Colonized substrate has brown or golden tones, depending on the type of grain or mixture. Any other color is an alarm signal: green is usually Trichoderma, a particularly aggressive mold common in home cultivation; gray and black usually point to other molds or, in some cases, to bacteria. If you see spots of these colors, there's no ambiguity: it's contamination.
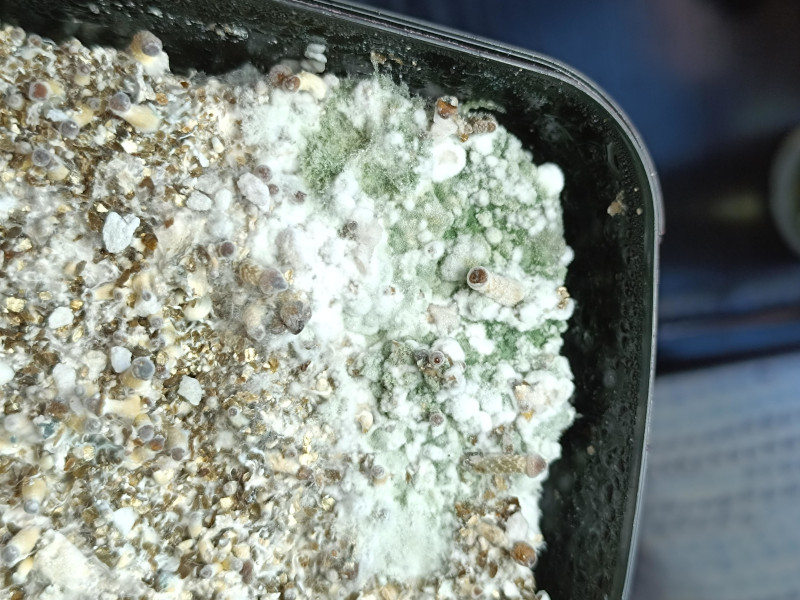
Smell. Healthy mycelium smells of damp forest or fresh mushroom, an earthy and pleasant smell. A sour, sweetish, fermented or outright rotten smell is the olfactory signal of bacterial contamination, even before any visible change in color appears.
If you detect any of these signals, the recommendation is simple and without nuances: close the container and get rid of it. It's not worth trying to rescue a contaminated substrate (scraping off the mold, applying hydrogen peroxide or other home remedies) because, in the best case, you delay the inevitable, and in the worst, you spread mold spores throughout the rest of your cultivation area, putting at risk everything else you have underway. Throwing away a cultivation in time is, almost always, the most cost-effective decision in the medium term. If you want to go deeper into how to prevent contamination or how to act when it has already appeared, you have the complete guide in How to prevent and treat contamination in mushroom cultivation.
The moment to harvest is not when the mushrooms "look big", but when the partial veil (the thin membrane that joins the edge of the cap to the stem) is about to break, but hasn't yet done so. Harvesting at that point maximizes potency and prevents the spores from starting to release, something that slightly reduces the quality of the harvest and dirties the cultivation environment with spores that can favor future contaminations.
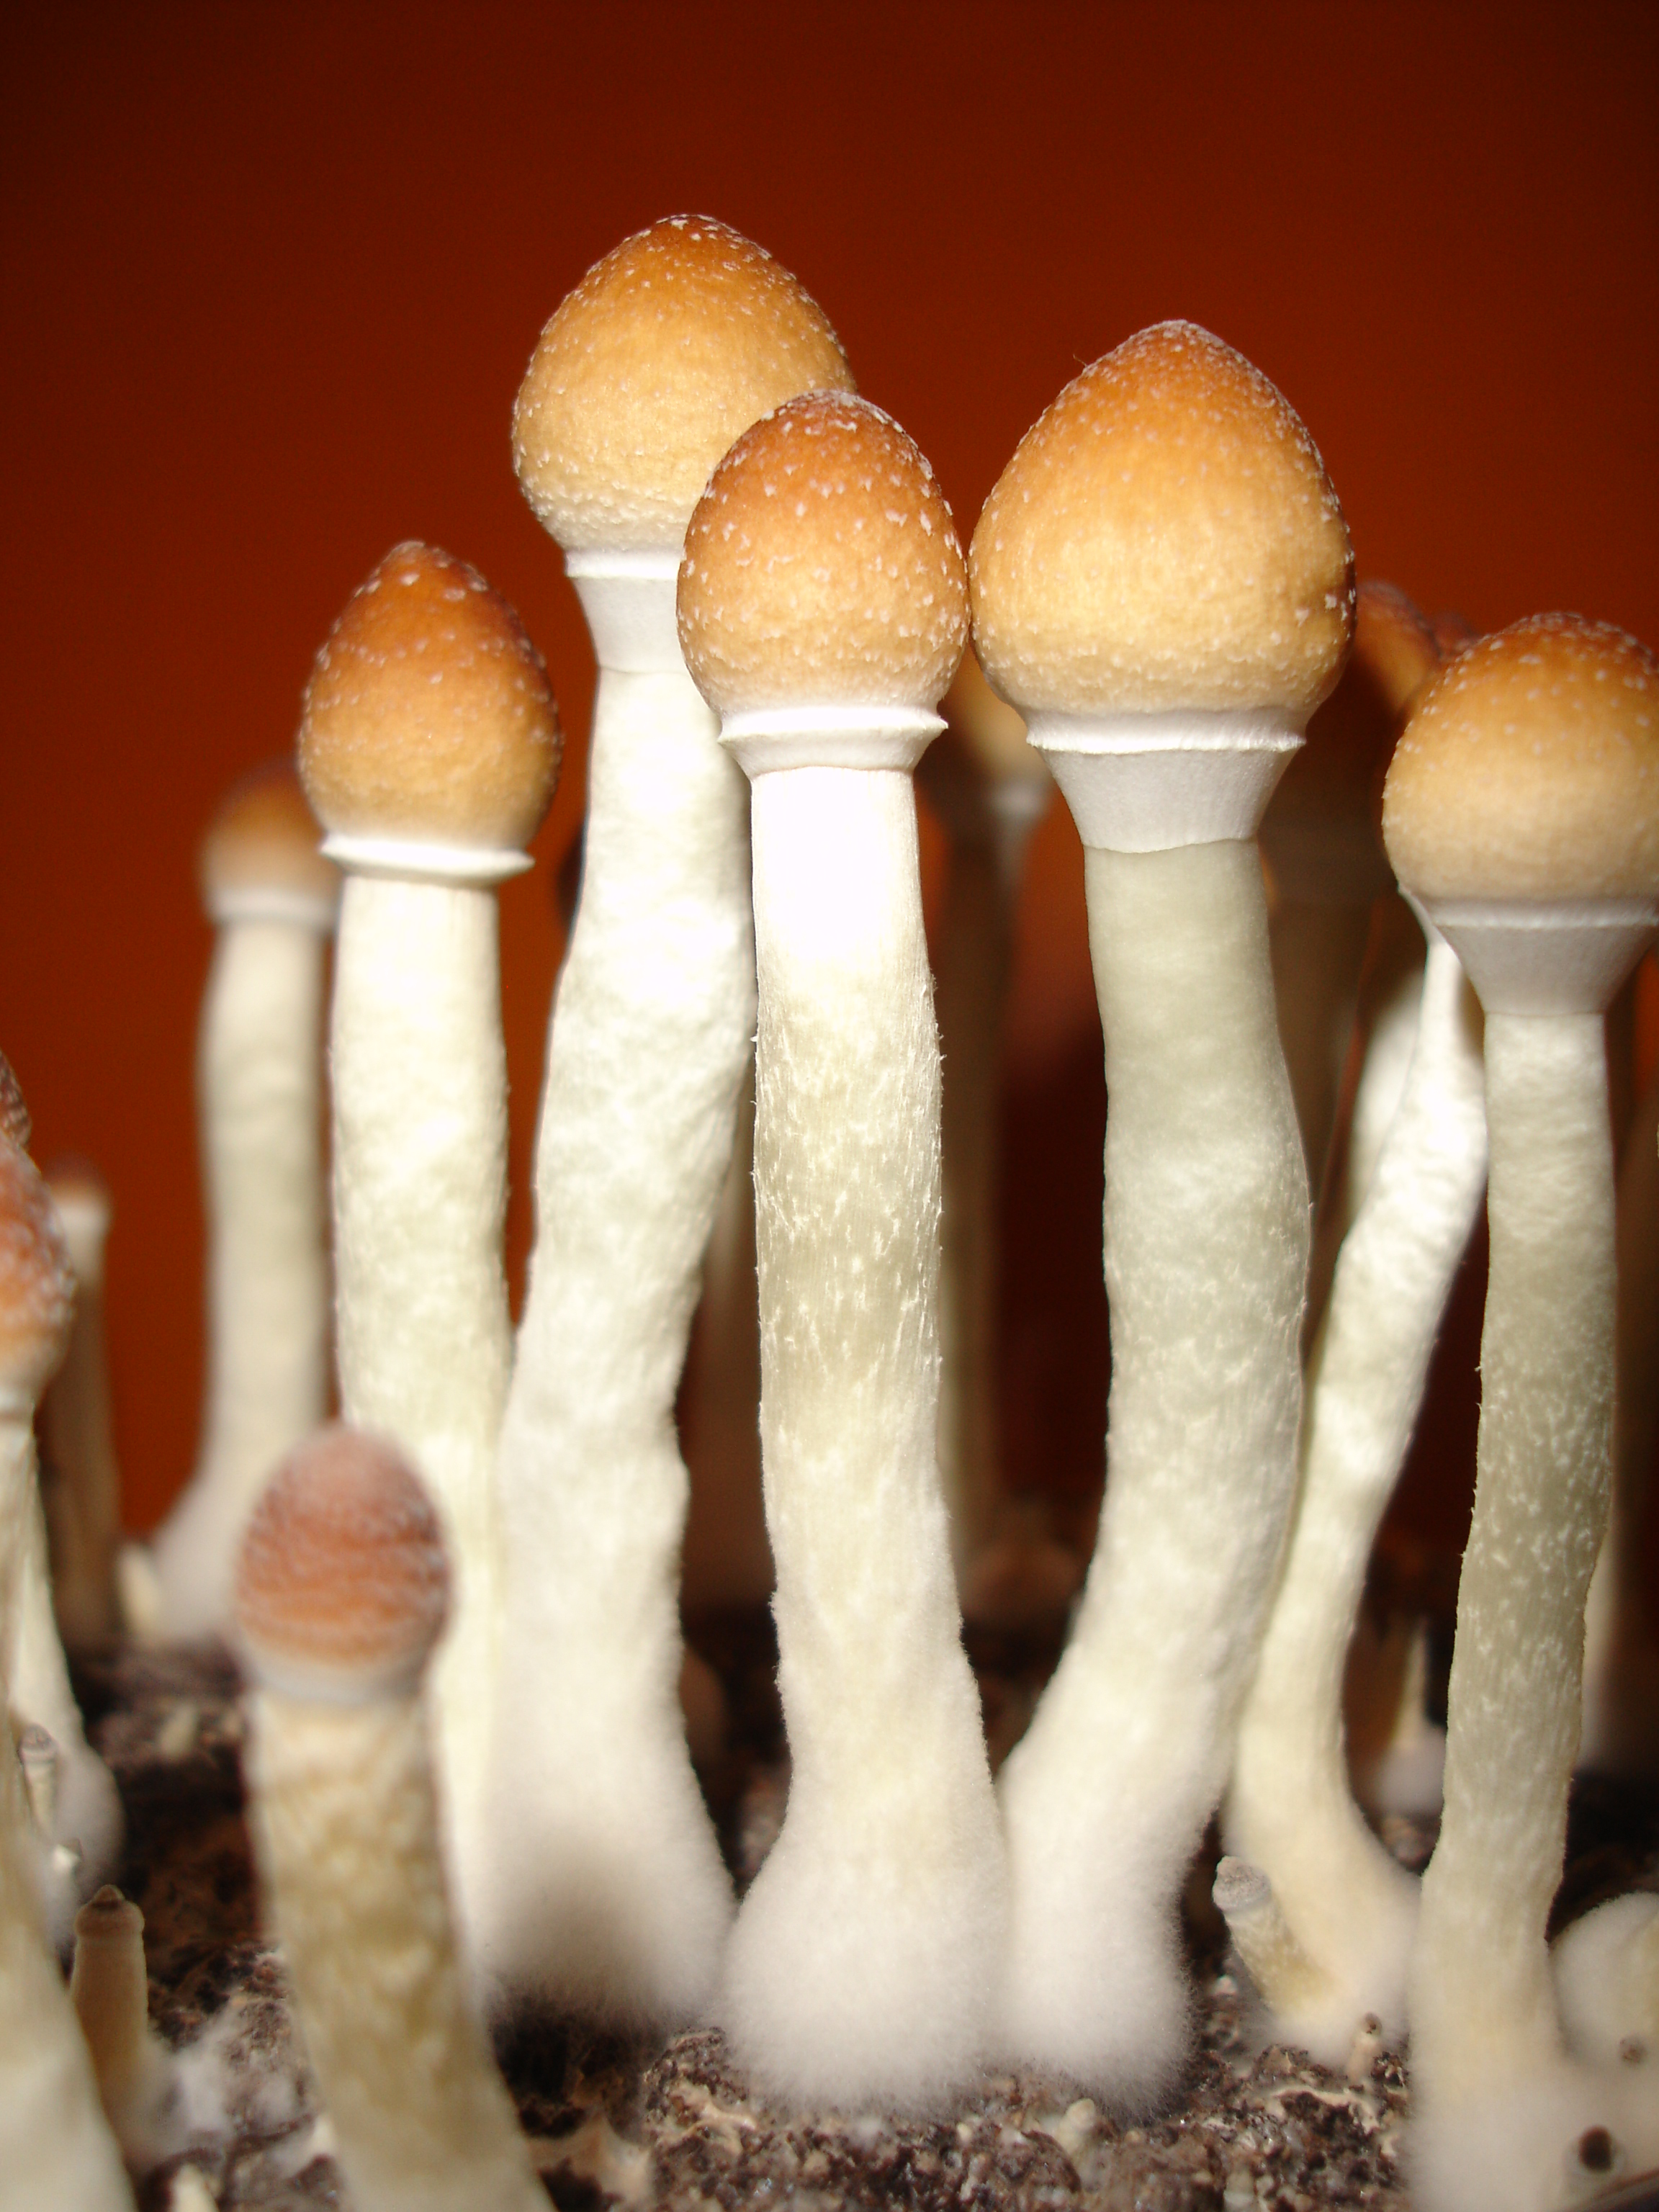
To harvest, you hold the mushroom by the base of the stem and gently twist it while pulling upward, making sure the twist detaches the root cleanly without tearing off pieces of the underlying substrate, which would damage the structure of the mycelium for the following waves ("flushes"). Don't leave stem remnants buried in the substrate, since those remnants tend to rot and are a focus of contamination for the following waves.
Once harvested, there are three basic ways to preserve them:
Avoid freezing fresh mushrooms without drying them first: their high water content means that, when freezing, ice crystals form that break the cellular structure, and the result when thawing is a soft, degraded mass, not a usable mushroom. Freezing only makes sense once the mushroom is already completely dry, and even then, well-done drying is usually enough on its own for long-term preservation.
Growing mushrooms at home is, above all, a learning process through trial and observation: theory gives you the map, but practice is what teaches you to read the signals of your own cultivation. You don't need to get it right the first time; most of those who cultivate with ease today started with at least one contaminated cultivation or a modest harvest. Start with the method that best fits your experience and your patience, respect the hygiene and basic conditions we've seen here, and let practice itself refine the rest.
Related posts
How to prevent and treat contamination in mushroom cultivation
Published :
2025-07-14 09:36:11
The life cycle of fungi
Published :
2025-04-29 14:38:10